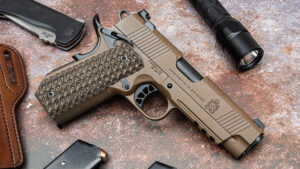


Maxim Defense Expands the PDX-SD with 7.62x39mm and .300 BLK Options
In 2019, Maxim Defense introduced its short and maneuverable PDX short-barreled PDW, followed one year later by the PDX-SD. The PDX-SD expanded on the original platform by adding an integrated suppressor while maintaining stealthy, close-quarters handling. However, although the original

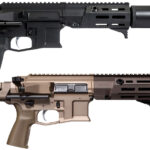
Huxwrx Ventum 762: Hub-Compatible Flow-Through Suppressor
One of my favorite things about being in the outdoor industry is media events. I love seeing new products before companies release them to the public. Even cooler, companies sometimes ask for my thoughts on a product as a shooter.
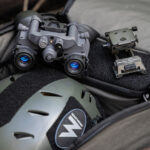
Armasight Ultimate Night Vision Kit: All You Need for Night Ops
Several years ago I was in the right place at the right time and got a killer deal on some Gen 3 night vision tubes. Money was tight (isn’t it always?), but I couldn’t turn down the deal. I was